
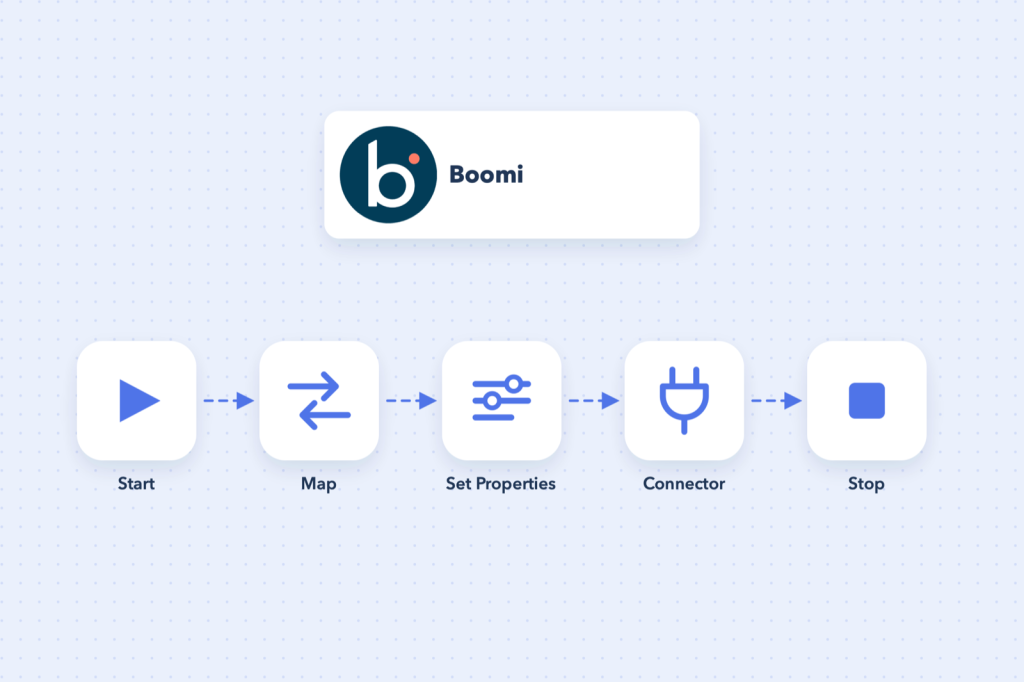
Boomi is a low-code integration platform (iPaaS): instead of writing services by hand, you draw a process on a canvas and Boomi runs it for you. If you have two systems that need to exchange data (a file server and an ERP, a CRM and an e-commerce store), a Boomi process is usually the quickest reliable way to connect them.
This guide covers the ideas you need first and then walks through building a real process.
The building blocks
Every Boomi integration is assembled from a handful of reusable components. Once these click, everything else in Boomi is just more of the same.
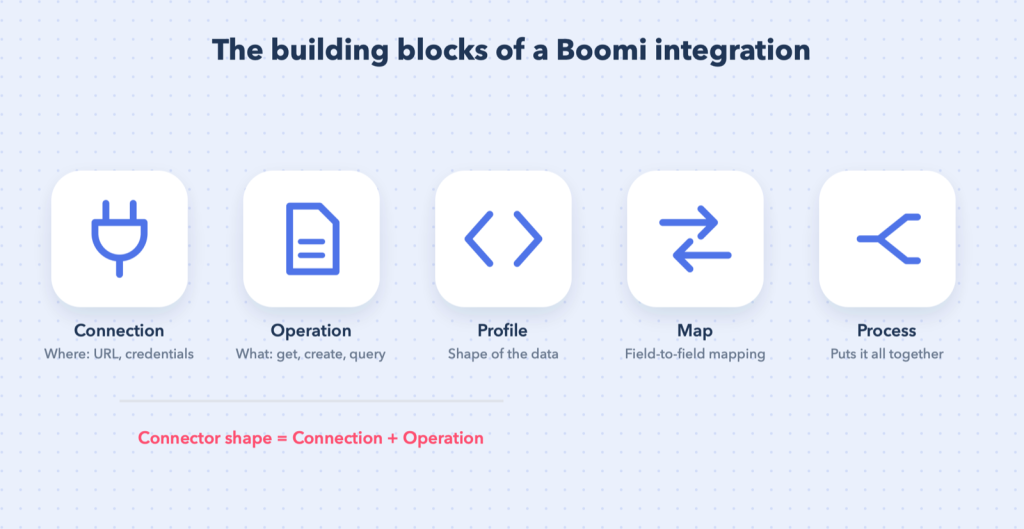
- Connection: where to connect. The URL or host, and the credentials. Create it once and reuse it in every process that talks to the same system.
- Operation: what to do there. Get a file, query records, create or update records.
- Profile: the shape of the data (fields, types, nesting) for flat files, XML, JSON or database rows. Connector operations often generate their profiles for you.
- Map: how fields in one profile become fields in another, with optional functions for formatting, lookups and calculations.
- Process: the canvas where you chain shapes together and decide what happens to each document.
Tip: A connector shape on the canvas is always a Connection plus an Operation. Get comfortable with that pair and most connectors start to look the same.
Before you build: where will it run?
Processes execute on a runtime (historically called an Atom). You can install a basic runtime on your own machine or server, or use a Boomi-hosted runtime cloud. For learning, either works. A local runtime is handy when you need to reach files or databases inside your network. See Deploy and maintain Boomi processes for the full picture.
Build your first process
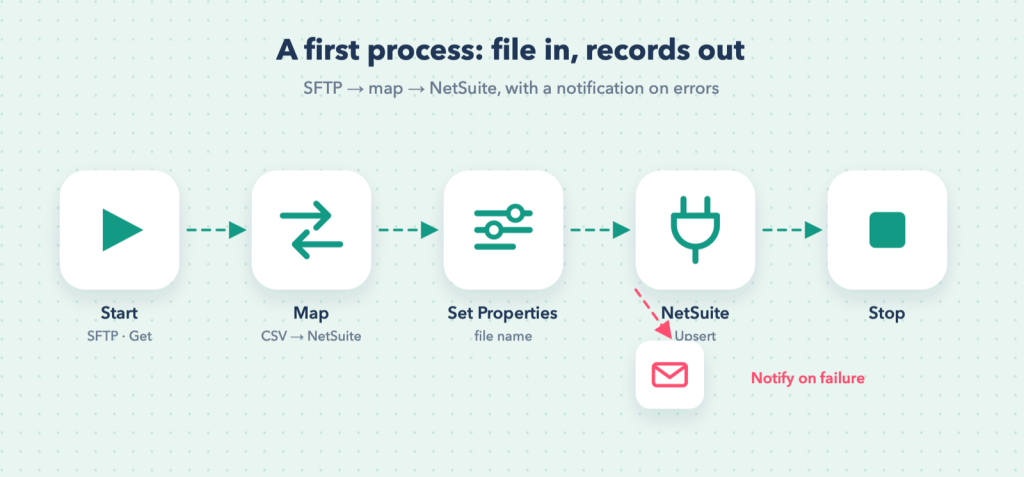
We will build a common pattern: pick up a CSV file from an SFTP server, turn each row into a NetSuite record, and get notified if anything fails.
1. Create the process
- Open the Build page and create a folder for your project, so components stay organised as the project grows.
- Choose Create New → Process and give it a clear name, for example SFTP Orders → NetSuite Sales Orders.
- The canvas opens with a Start shape already on it.
2. Configure the Start shape
The Start shape decides how documents enter the process:
- Connector: the process begins by fetching data, for example an SFTP Get. This is the most common choice.
- No Data: the process starts empty, useful when a later shape fetches the data or when the process is called by another process.
- Trading Partner: for EDI scenarios.
- Data Passthrough: the process receives documents from the process or listener that called it.
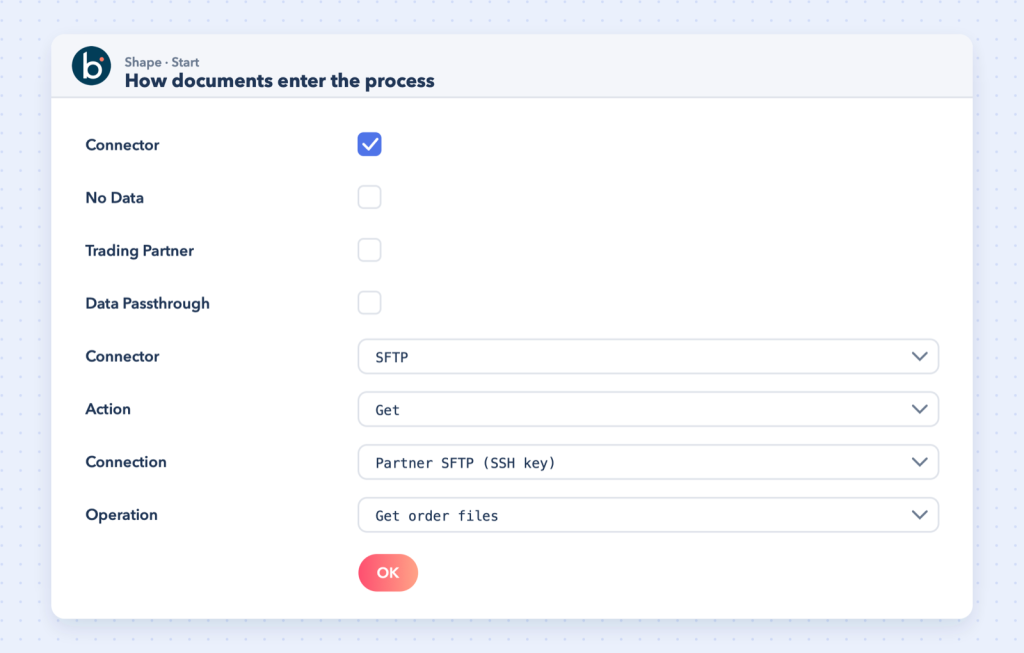
Choose Connector, pick your SFTP connector, then create (or select) the connection and a Get operation that filters for *.csv files. Setting up the connection itself is covered in Connect SFTP with password authentication.
3. Describe the data with profiles
Create a Flat File profile for the CSV. The quickest way is to import a sample file, which gives you the columns automatically. On the NetSuite side, the connector operation imports the record definition and creates the profile for you when you choose the record type.
4. Map the fields
Drop a Map shape after Start. Choose the CSV profile as the source and the NetSuite profile as the destination, then drag lines between matching fields. Use map functions for anything that is not a straight copy: date formats, string trimming, default values or lookups.
Tip: Map only the fields you need. Unmapped destination fields are simply left out of the request, which keeps updates safe.
5. Keep useful values with Set Properties
A Set Properties shape stores values for later, such as the incoming file name in a dynamic document property, so you can log it or rename the file at the end. The difference between process and document properties is explained in Dynamic process and document properties in Groovy.
6. Send the records and finish
Add a NetSuite connector shape with an Upsert (or Create) operation, then a Stop shape. For production, wrap the main path in a Try/Catch and add a Notify or email step on the catch path so failures are never silent.
Test it
Click Test, choose a runtime and run the process. Boomi shows each shape turning green or red, and you can click any shape to open the documents that passed through it and the process log. This is the fastest way to debug a map: look at the document before and after the shape.
Watch out: Test runs execute for real. If your NetSuite connection points at production, test records are created in production, so use a sandbox account while building.
Good habits from day one
- Name every component after what it does and where it points (NetSuite SB1 – Sales Order Upsert).
- Keep one connection per system and environment, and reuse it.
- Handle errors explicitly with Try/Catch, Decision and Notify shapes.
- Keep scripts as a last resort; standard shapes are easier for the next person to maintain.
What next?
Once your process works in test mode, the next step is packaging and deploying it so it runs on a schedule: Deploy and maintain Boomi processes.